


Aftermarket charge pipes enhance car performance and aesthetics but require careful installation and maintenance. Ensure proper fitting, sealing, and vehicle preparation before installing new charge pipes. Neglecting security or ignoring vehicle-specific guidelines can lead to leaks, damage, unsafe conditions, and emissions issues.
“Enhance your vehicle’s performance with our DIY guide to installing aftermarket charge pipes safely. This comprehensive article delves into the benefits and essential safety precautions of upgrading your charge pipes, a crucial component in boosting engine efficiency. We provide a step-by-step installation process, detailing each phase for a seamless fit. Additionally, we highlight common mistakes to avoid, ensuring a smooth, successful upgrade. Get ready to revolutionize your vehicle’s power with this must-read guide focused on ‘charge pipes’.”
- Understanding Aftermarket Charge Pipes: Benefits and Safety Precautions
- Step-by-Step Guide to Installing Charge Pipes
- Common Mistakes to Avoid During the Installation Process
Understanding Aftermarket Charge Pipes: Benefits and Safety Precautions
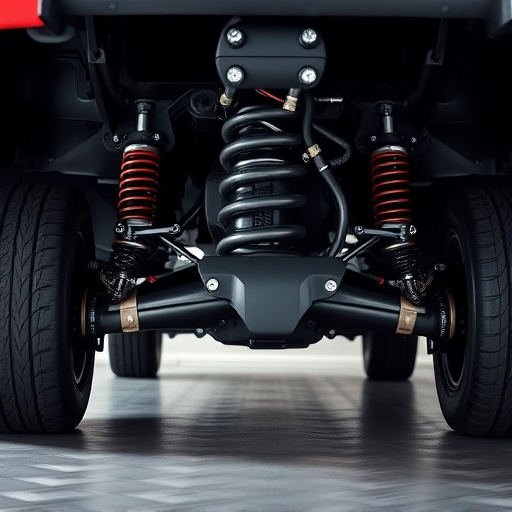
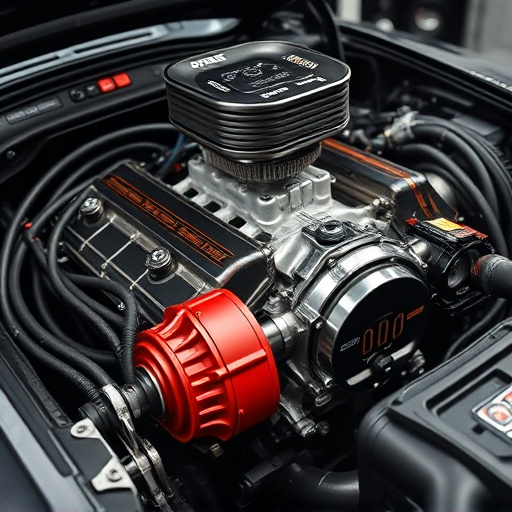
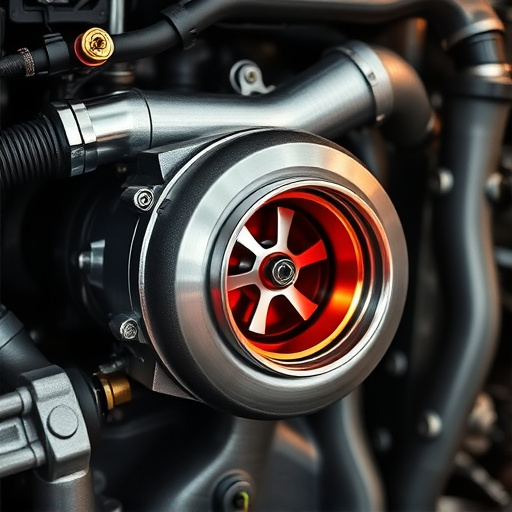
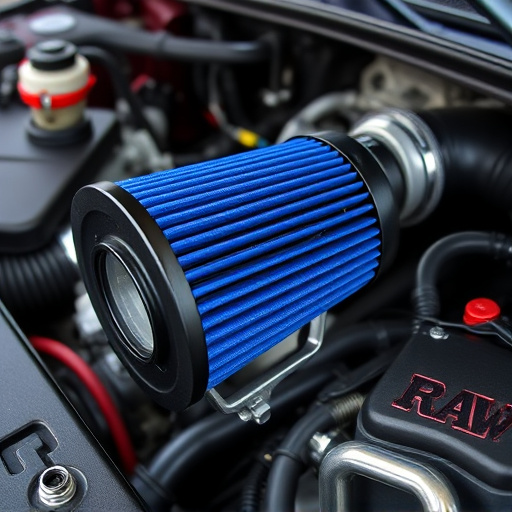
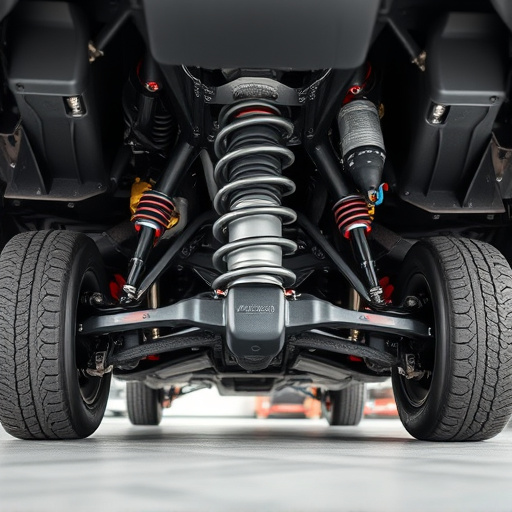
Aftermarket charge pipes are an exciting modification for car enthusiasts looking to enhance their vehicle’s performance and aesthetics. These pipes offer several benefits, such as improved engine cooling, better airflow, and a sleek, custom look. They are especially popular among those who install high-performance engines or coilover kits, ensuring optimal temperature regulation and efficient air flow.
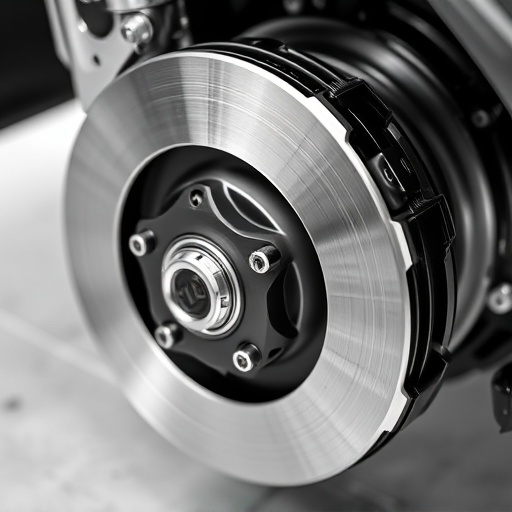
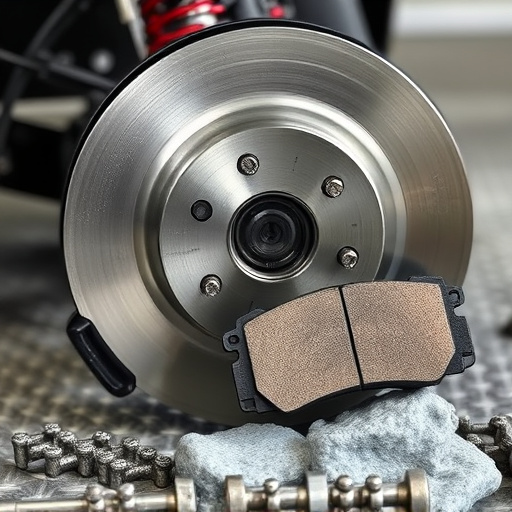
However, safe installation is paramount when dealing with aftermarket charge pipes. Always prioritize safety precautions, similar to how you’d approach installing new brake rotors or exhaust mufflers. Ensure proper fitting and sealing to avoid leaks that could lead to engine damage. Regular maintenance and inspection are crucial to prevent potential hazards, ensuring your vehicle remains reliable and safe on the road.
Step-by-Step Guide to Installing Charge Pipes

Installing aftermarket charge pipes is a great way to enhance your vehicle’s performance, but it requires careful consideration and a systematic approach to ensure safety and optimal results. Here’s a step-by-step guide to help you navigate this process smoothly.
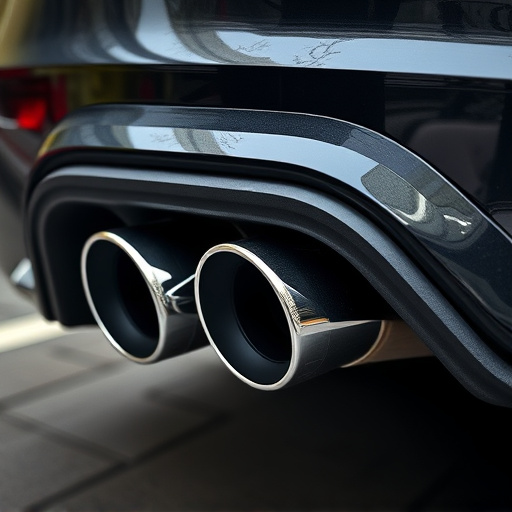
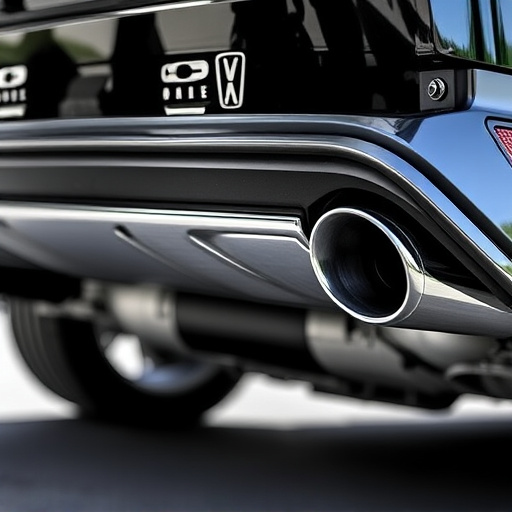
Begin by gathering all necessary tools and components, including the new charge pipes, gaskets, bolts, and any required hardware. Ensure your vehicle is parked on a level surface for stability during installation. Next, locate the exhaust tips and carefully remove them from the existing system, taking note of their positioning for easy reassembly later. With the old charge pipes accessible, follow the manufacturer’s instructions to properly disconnect and remove them. Inspect the engine bay for any loose debris or components that might interfere with the new setup. Now, position the new charge pipes in place, ensuring they align correctly with the performance exhaust system. Secure them using the appropriate bolts and gaskets, tightening them according to the specified torque requirements. Verify the pipes’ stability and positioning before proceeding.
Common Mistakes to Avoid During the Installation Process
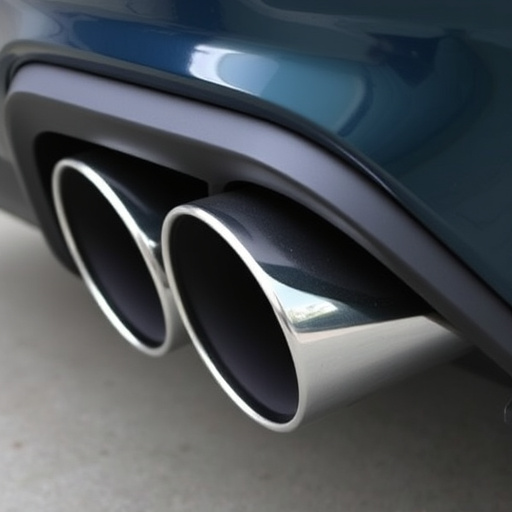
During the installation of aftermarket charge pipes, there are several common mistakes that DIY enthusiasts often make. One of the most prevalent errors is neglecting to properly secure the pipes, which can lead to leaks and potential damage to other components like exhaust tips and brake rotors. Always ensure that all connections are tightly fastened using the appropriate tools and hardware specified by the manufacturer.
Another frequent mistake is not following the vehicle’s specific guidelines. Modifying exhaust systems, especially for high-performance applications, requires a deep understanding of vehicle dynamics. Ignoring factory recommendations regarding torque specifications, alignment, or compatibility can result in unsafe operating conditions, reduced performance, and potential legal issues related to emissions standards.
Upgrading your vehicle with aftermarket charge pipes can significantly enhance performance, but proper installation is crucial for safety and durability. By understanding the benefits and following a detailed guide, like the one provided in this article, you can ensure a successful DIY project. Remember to avoid common mistakes, prioritize safety precautions, and regularly inspect your charge pipes for any signs of wear or damage. With these steps, you’ll have a reliable and high-performing charging system for years to come, all while saving on potential dealership costs.